
Before you publish
Before publishing, take a moment to review your application in the AIWA preview. Check the important parts of your project, including:- Navigation and links
- Page content
- Forms and buttons
- Mobile responsiveness
- Authentication, if your app uses it
- Important application workflows
Publishing doesn’t end your AIWA project. You can continue building, improving, and republishing your application after it goes live.
1. Click Publish
When you’re ready, click Publish in the top-right area of your AIWA project workspace. This opens the publishing window for your project.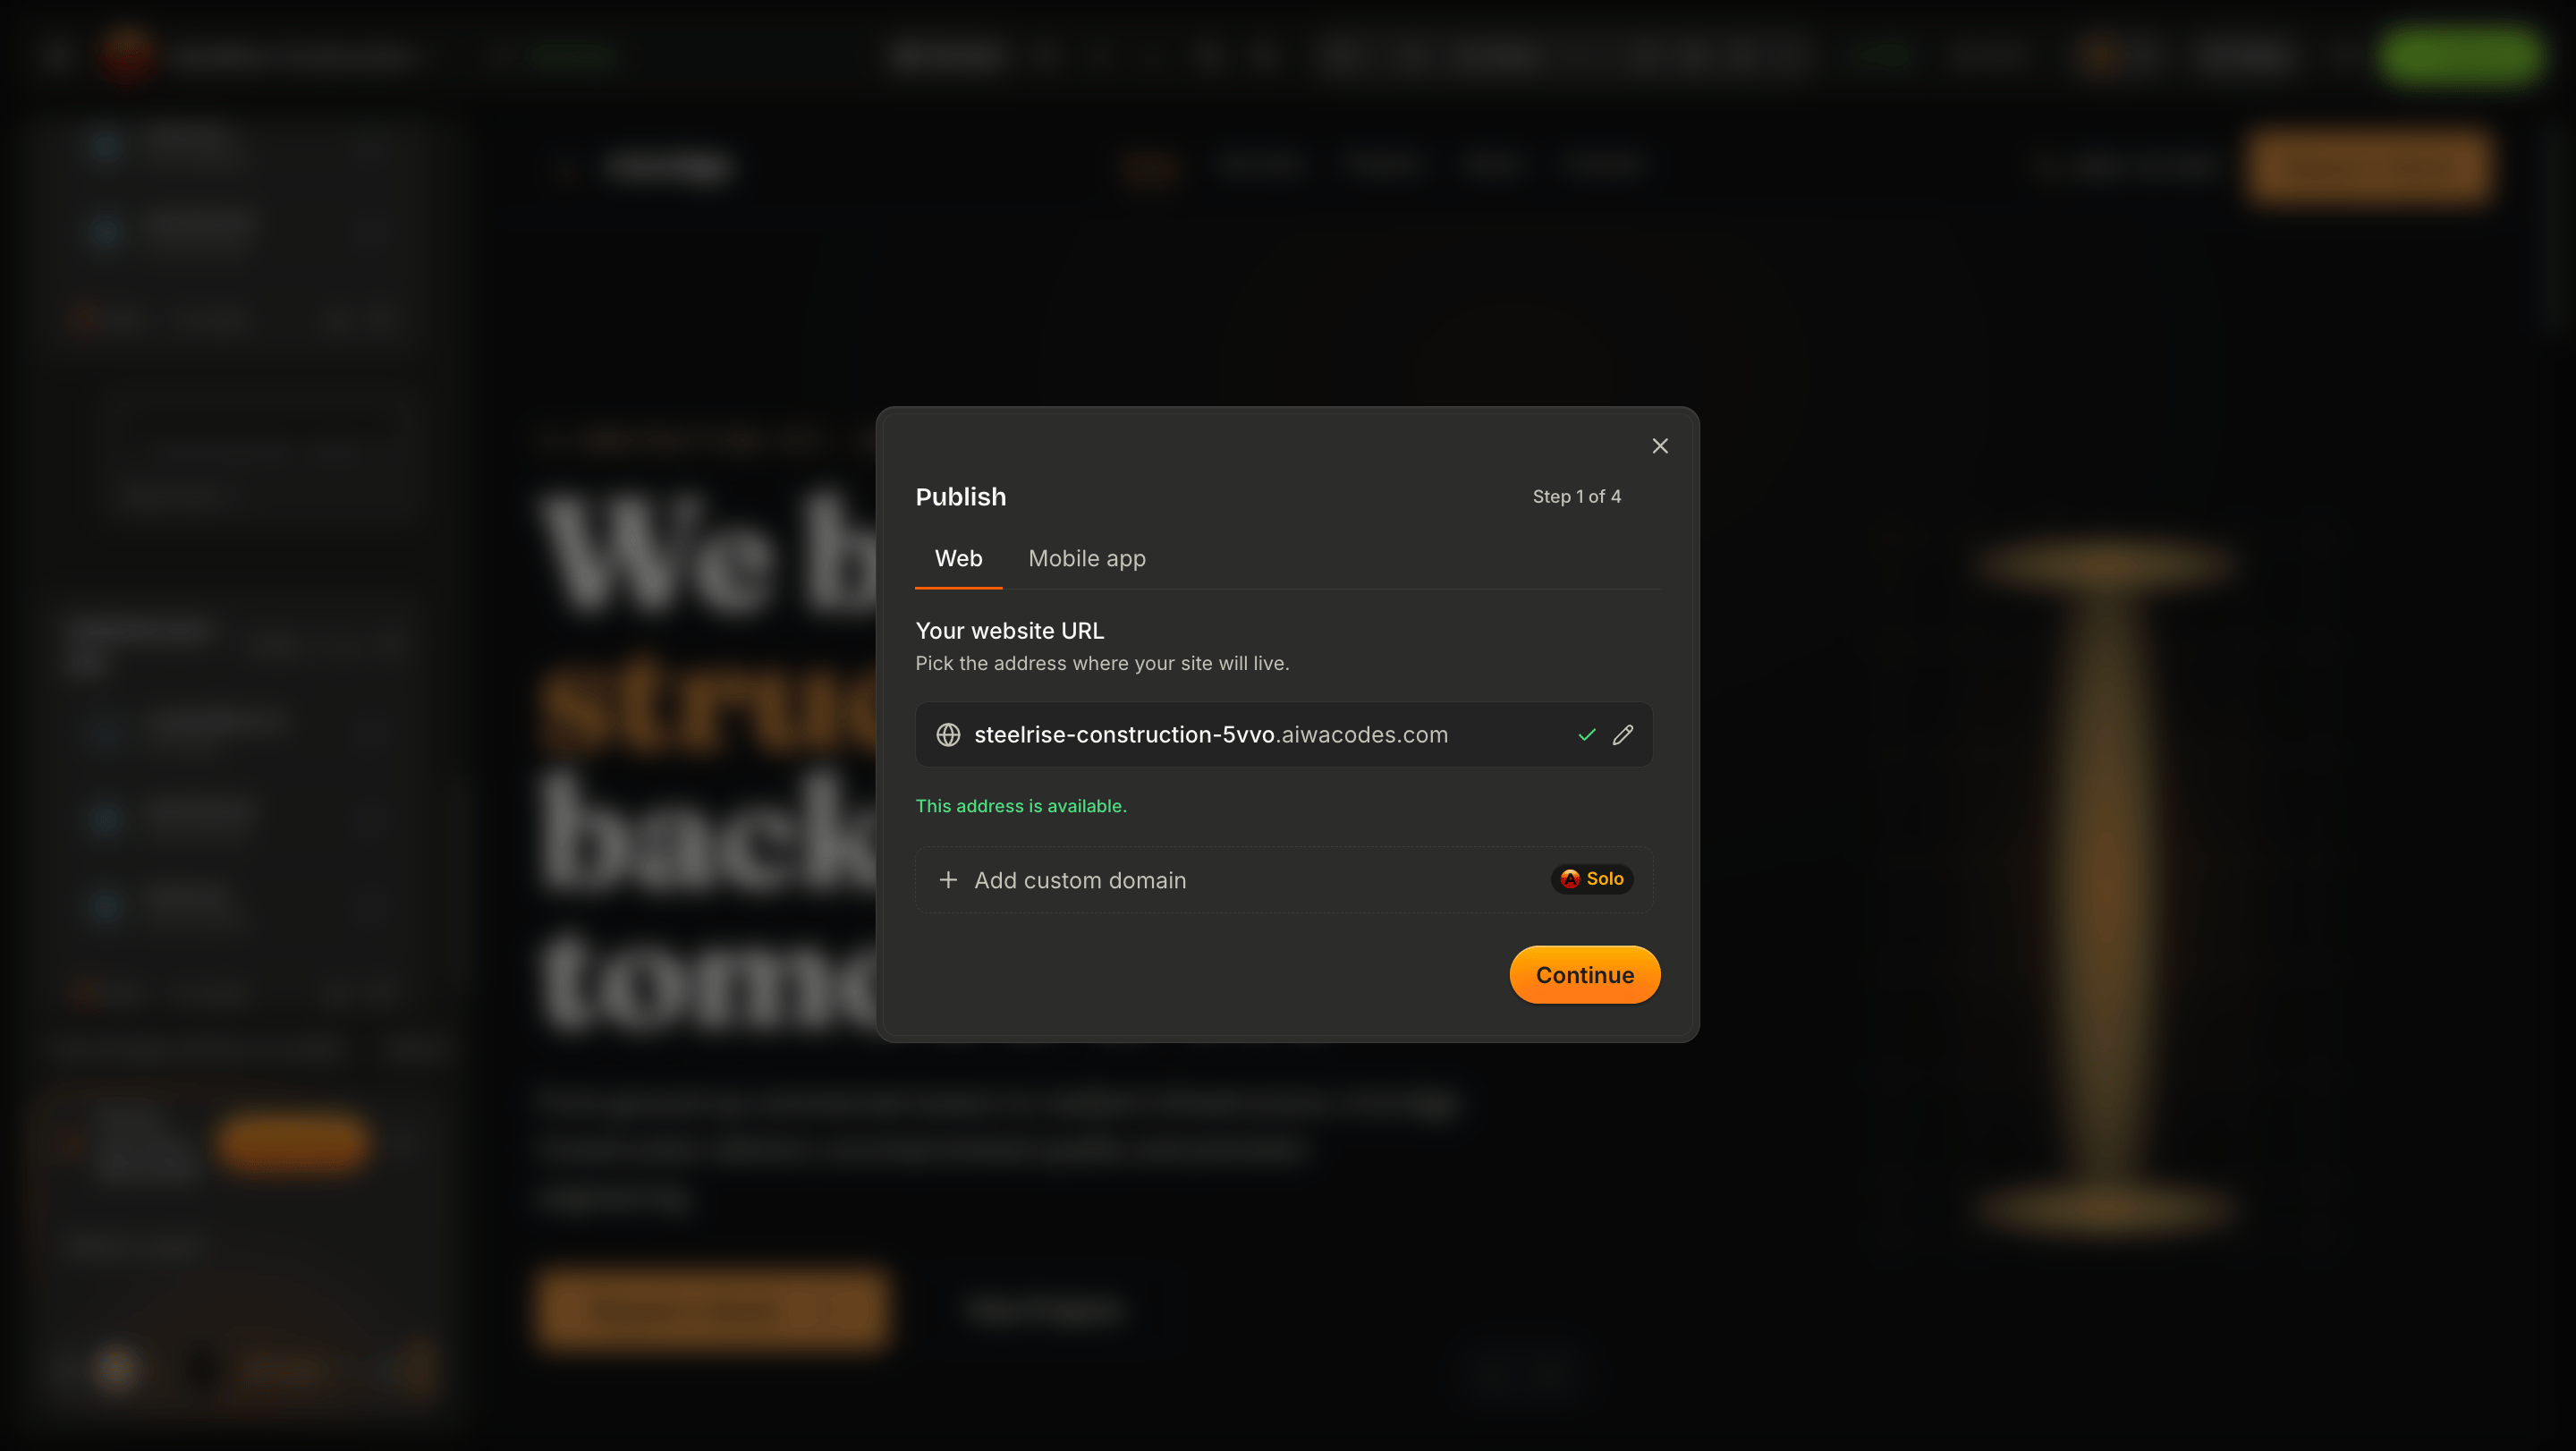
2. Review your publishing options
Before deployment begins, review the information shown in the publishing window. Depending on your project and account, AIWA may display information about your deployment and live project URL. When you’re ready, confirm the publish action.You don’t need to purchase or configure a domain to publish your first project. AIWA provides hosting for published projects and gives your project a live URL.
3. Wait for deployment
AIWA will now deploy your application. During this process, the application is prepared and made available in the live environment. You don’t need to configure a server or manually upload your project files. Keep the project open while AIWA completes the deployment.4. Your project is live
When publishing is complete, AIWA will confirm that your application is live.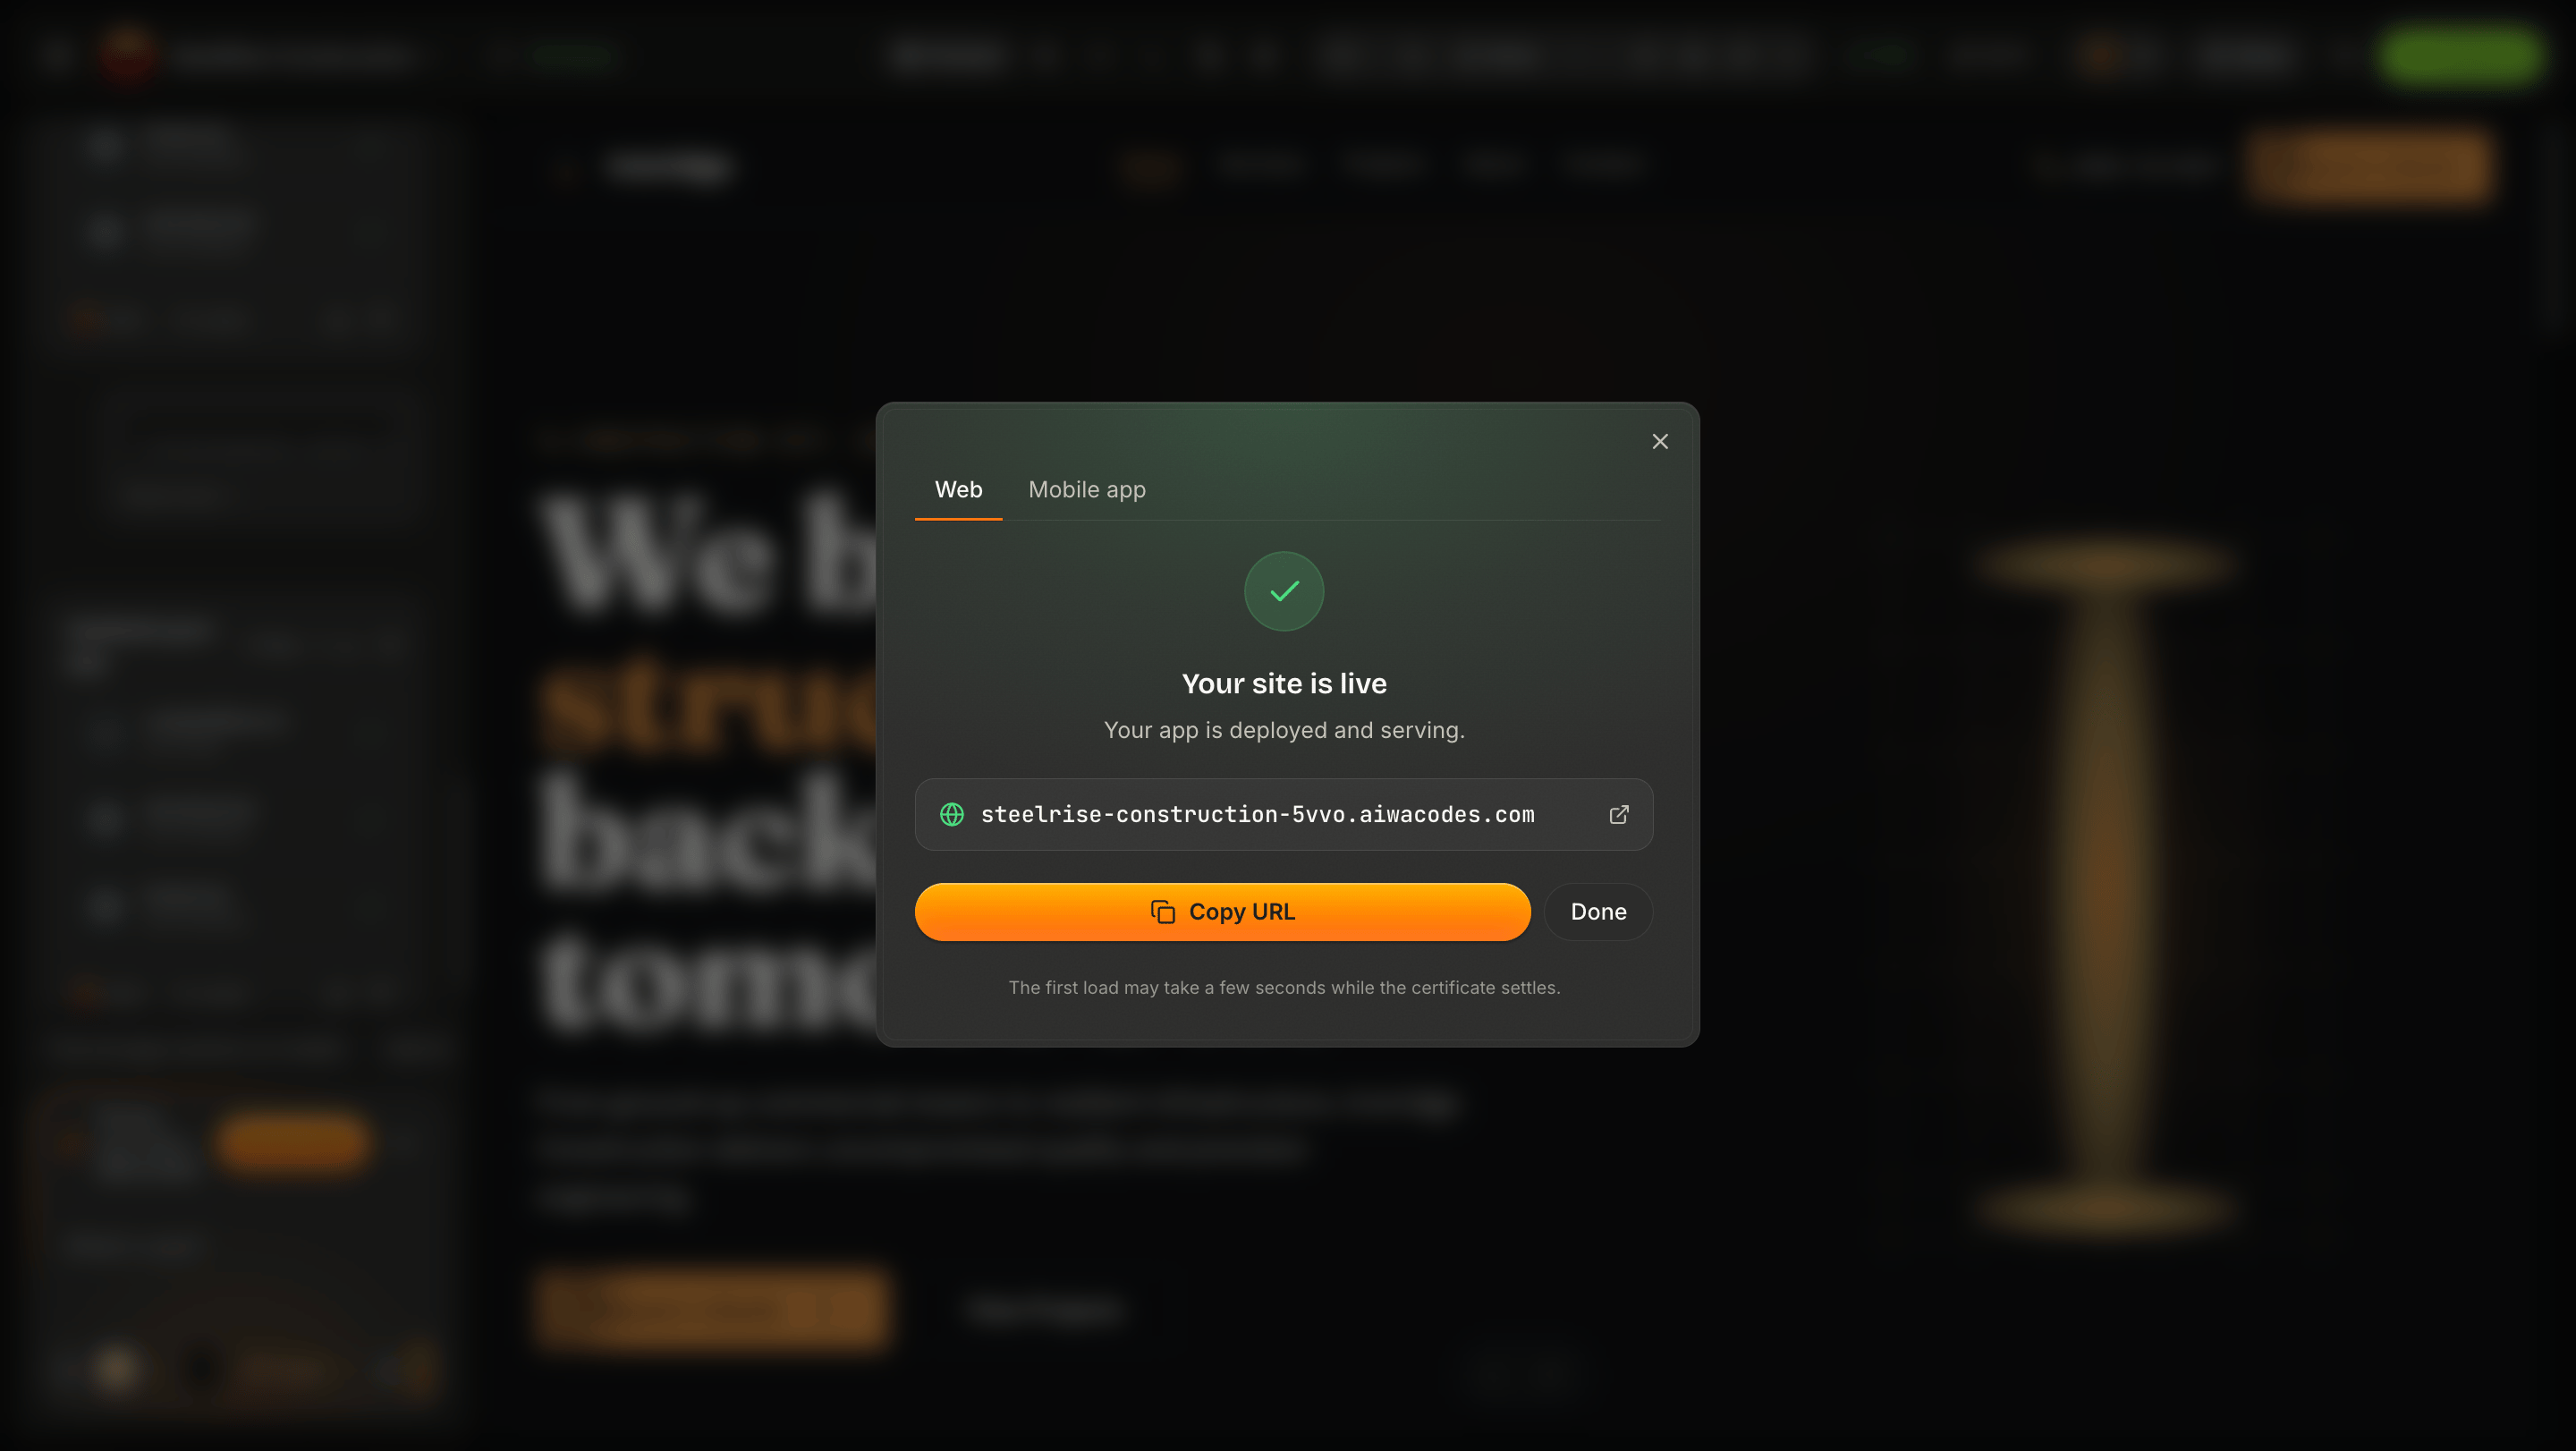
5. Open your live application
Open the live URL and test the application outside the AIWA workspace.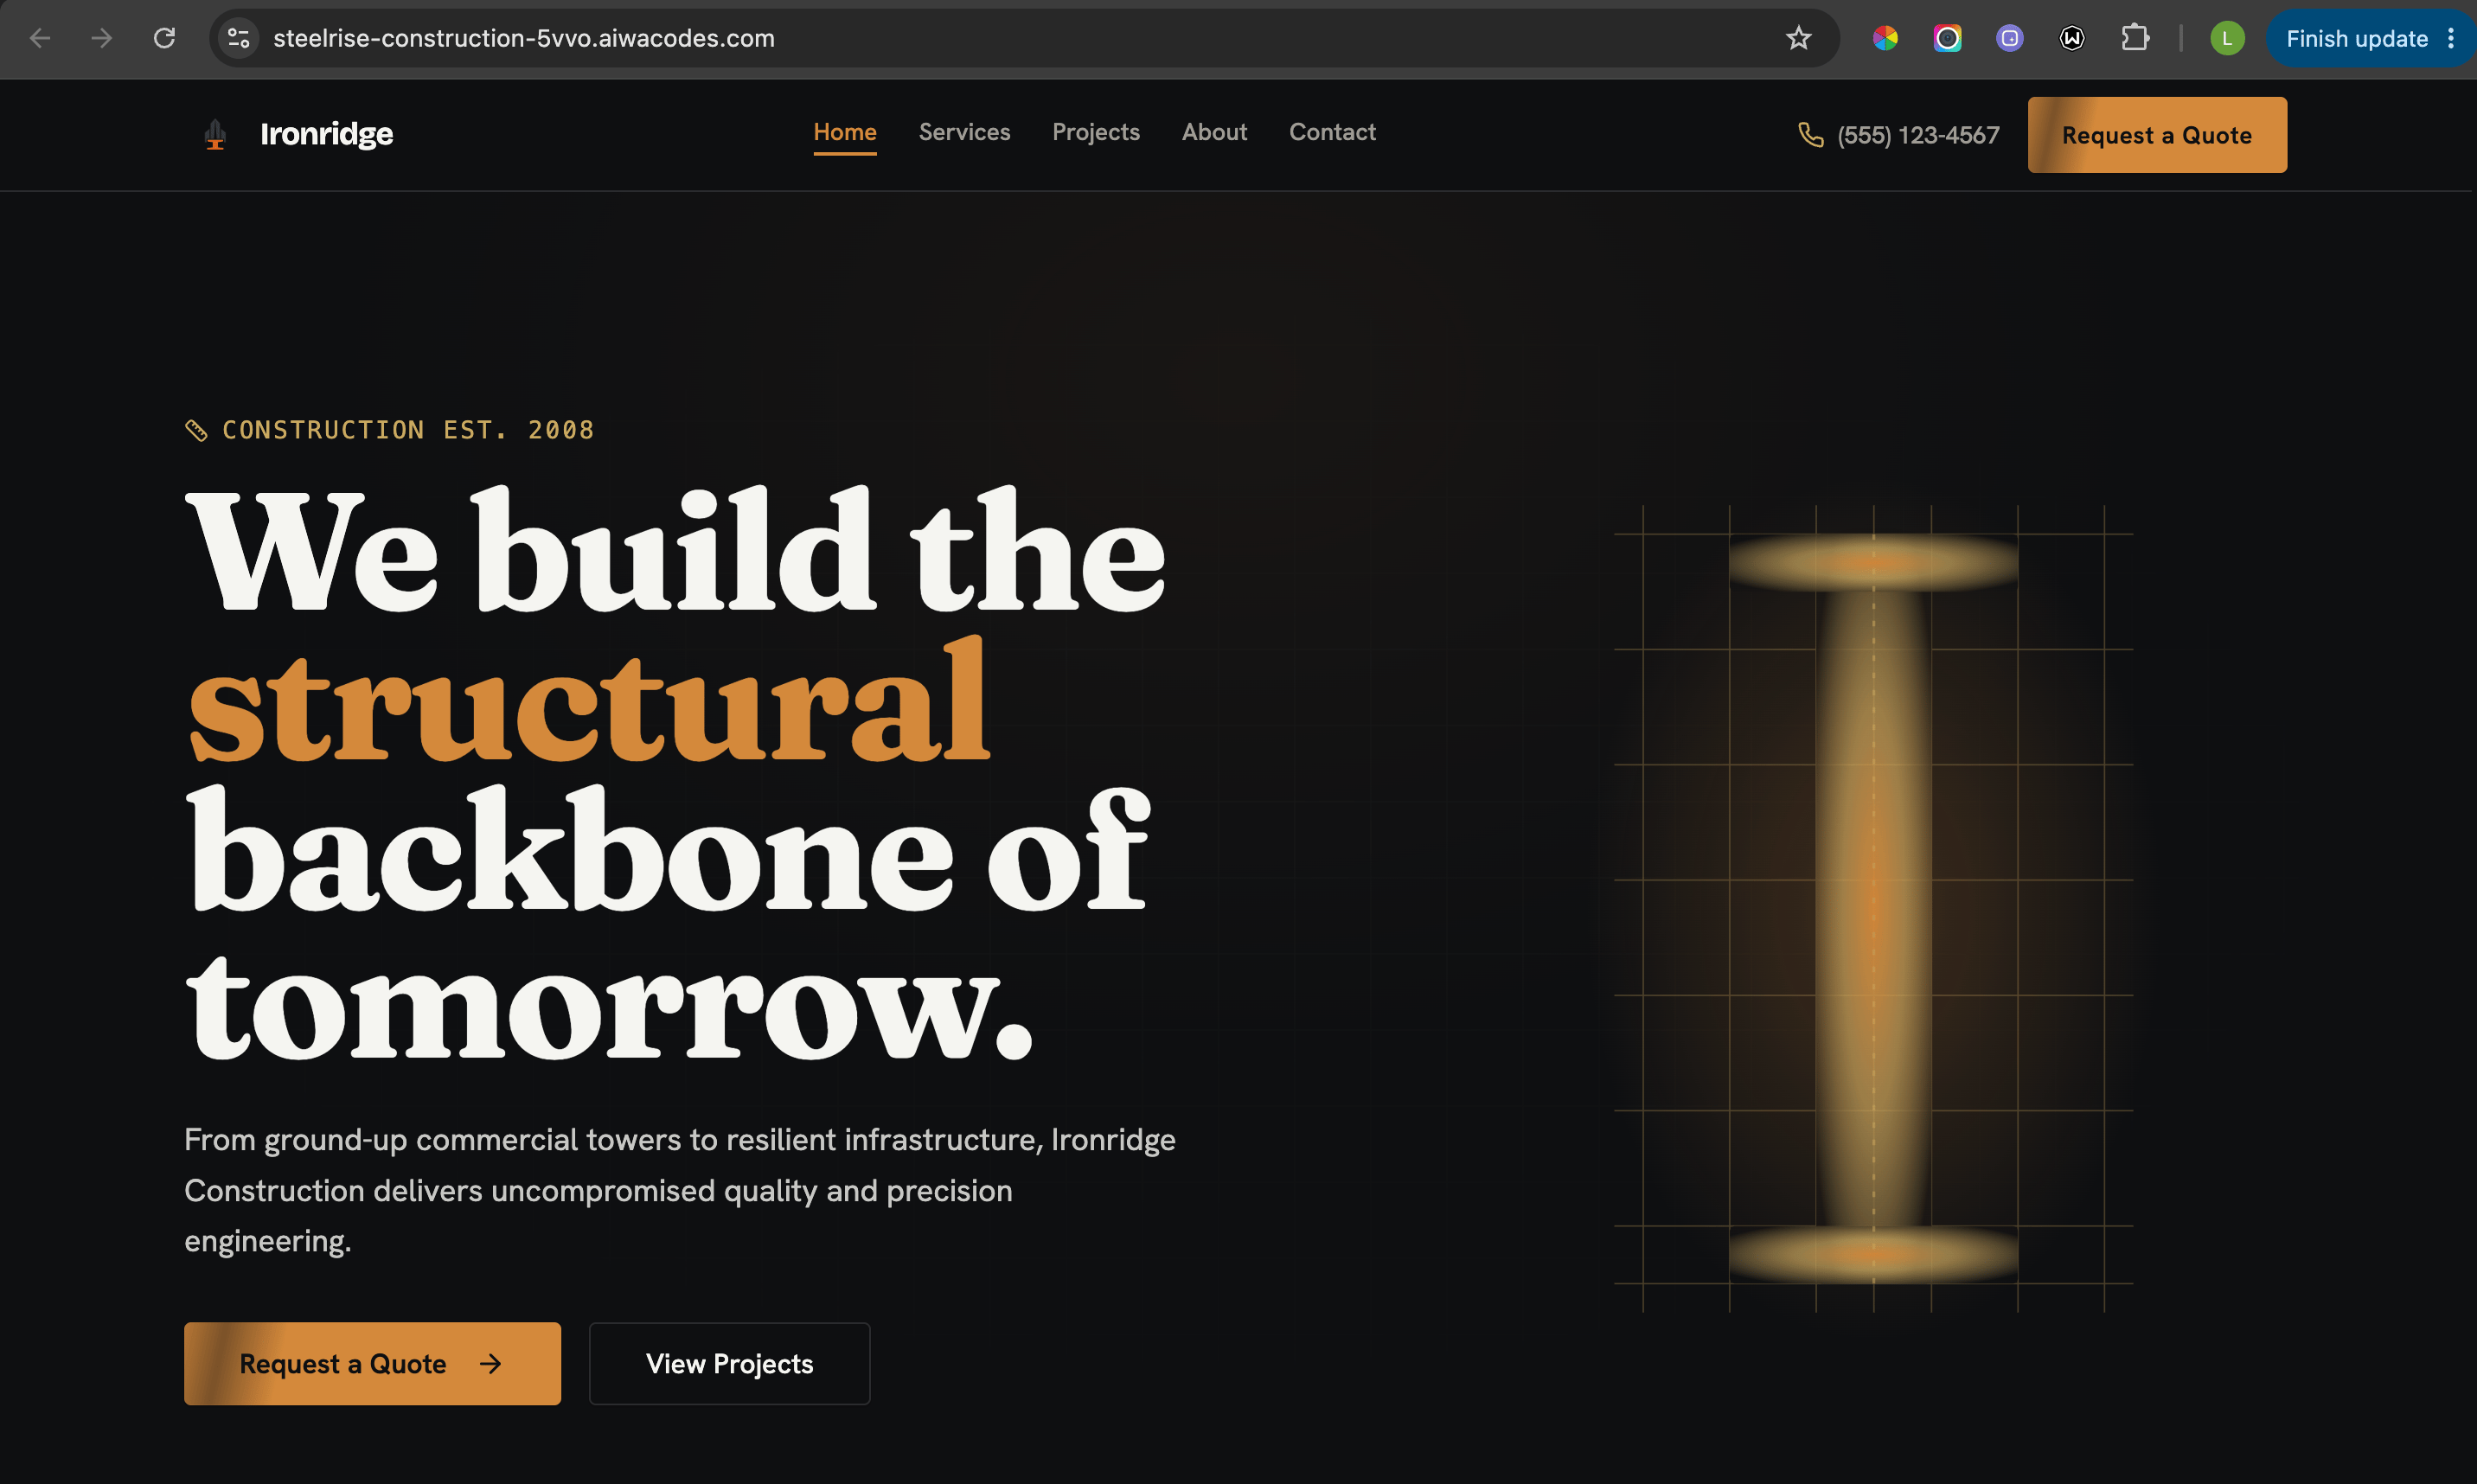
- Navigation
- Forms
- Authentication
- Database-powered features
- External integrations
- Mobile layouts
Making changes after publishing
Publishing doesn’t lock your application. You can return to the project and tell AIWA what you want to improve. For example:Add a testimonials section below the projects section.Or:
Change the Contact button in the navigation to Request a Quote.Or:
Improve the mobile layout of the Services section.AIWA can make the changes to your existing project. Once you’re happy with the new version, publish again to update the live application. This creates a continuous development cycle: Build → Preview → Publish → Learn → Improve → Publish again
Using your own domain
Your AIWA URL is enough to get your application online, but you may eventually want to use your own domain. For example:We’ll cover domain setup step-by-step in Publishing & Domains → Custom Domains.
Want to host the project yourself?
AIWA provides hosting for your published projects, but you’re not limited to AIWA hosting. If you need to manage your own infrastructure, you can export your project and deploy it elsewhere. For example, you may choose to:- Export your project code
- Export your project to GitHub
- Deploy the exported application to your own infrastructure or VPS
Self-hosting requires you to manage the external hosting environment and deployment process yourself.
You just shipped with AIWA 🎉
You’ve now gone from an idea to a live application.1
Describe
You told AIWA what you wanted to create.
2
Build
AIWA helped turn your idea into a working application.
3
Review
You previewed and refined the result.
4
Publish
AIWA deployed your application to a live URL.
What’s next?
You’ve completed the Getting Started section. Next, we’ll go deeper into how to work effectively with your AI product team.Building with AIWA
Learn writing effective prompts, the four modes, AIWA Min vs Max, Project Memory, and iterating on your app.