
Plan → Build → Review → Iterate
1. Tell AIWA what you want to create
Everything starts with a conversation. Describe the website, application, feature, or change you want AIWA to create. For example:Build a world-class construction website. The website should have all the navigations a construction website should have. Use professional and very clean images.
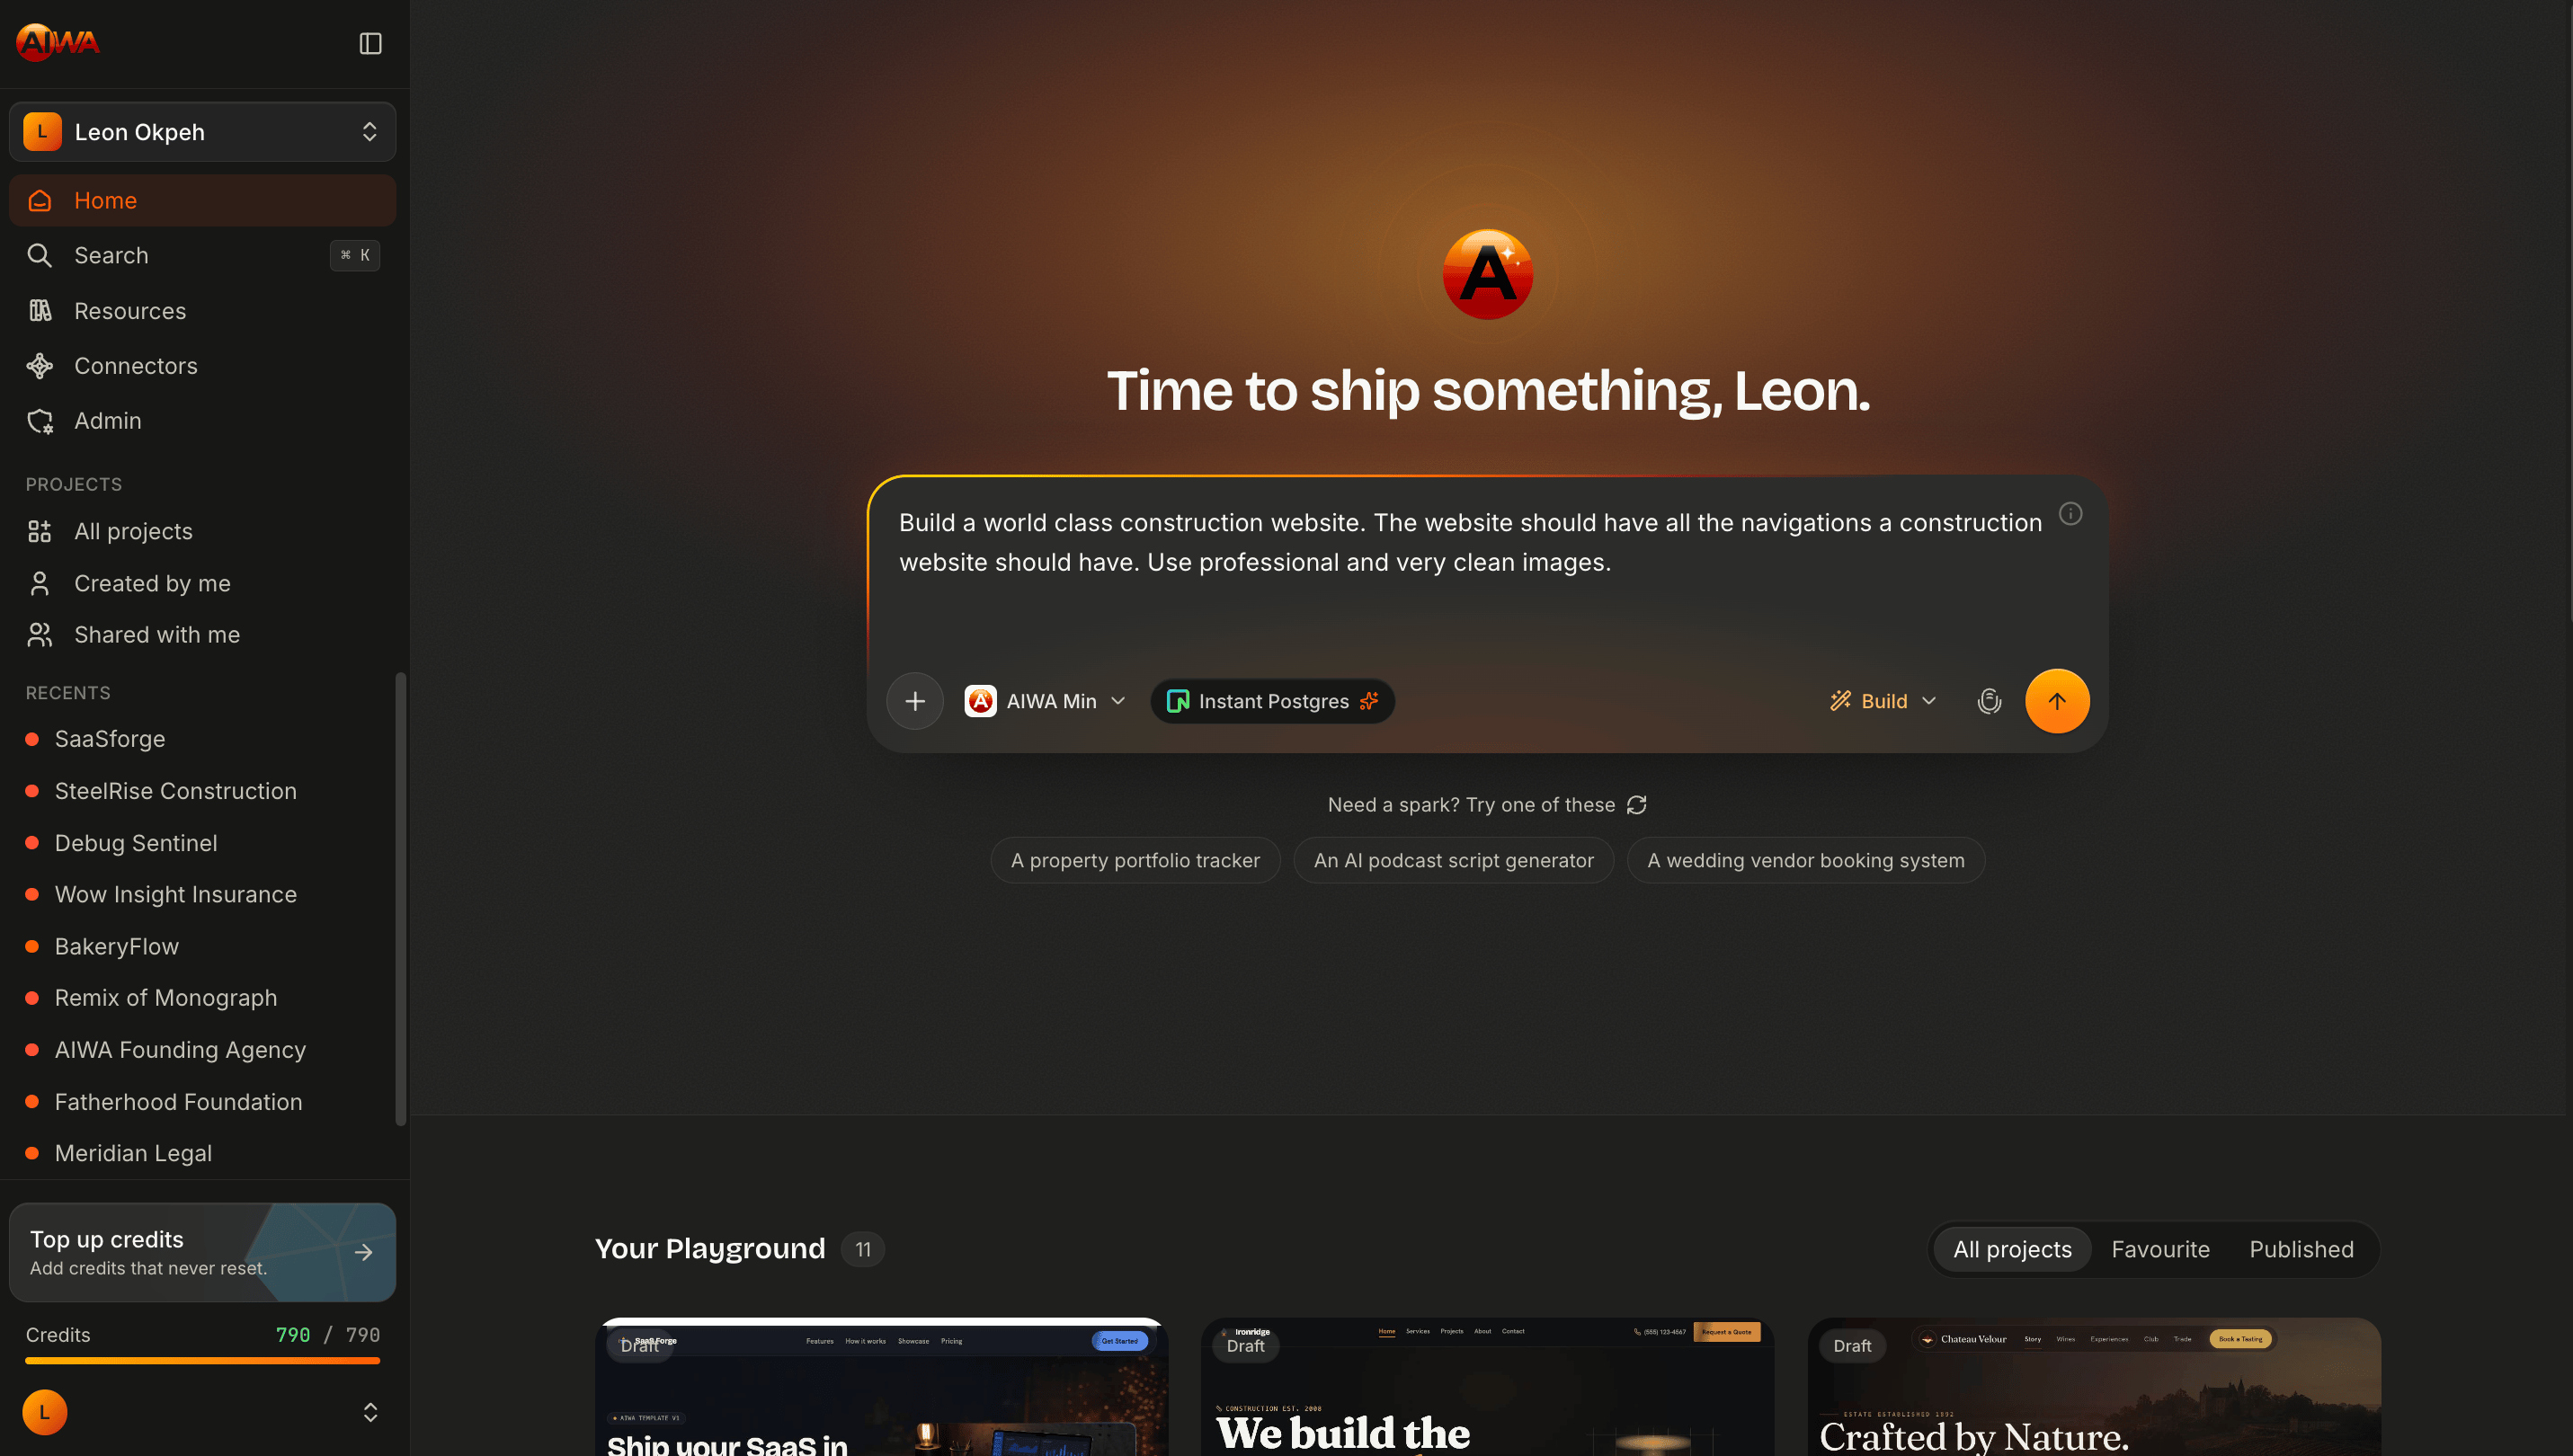
Your first prompt doesn’t have to be perfect. You can continue refining your application as you build.
2. Plan
For more complex builds, AIWA can plan the product before writing the implementation. The planning process turns your request into a structured specification that AIWA can use to understand what it needs to build. Depending on the project, this can include:- Product intent
- Pages and features
- User flows
- Data requirements
- Backend functionality
- Technical requirements
- Integrations
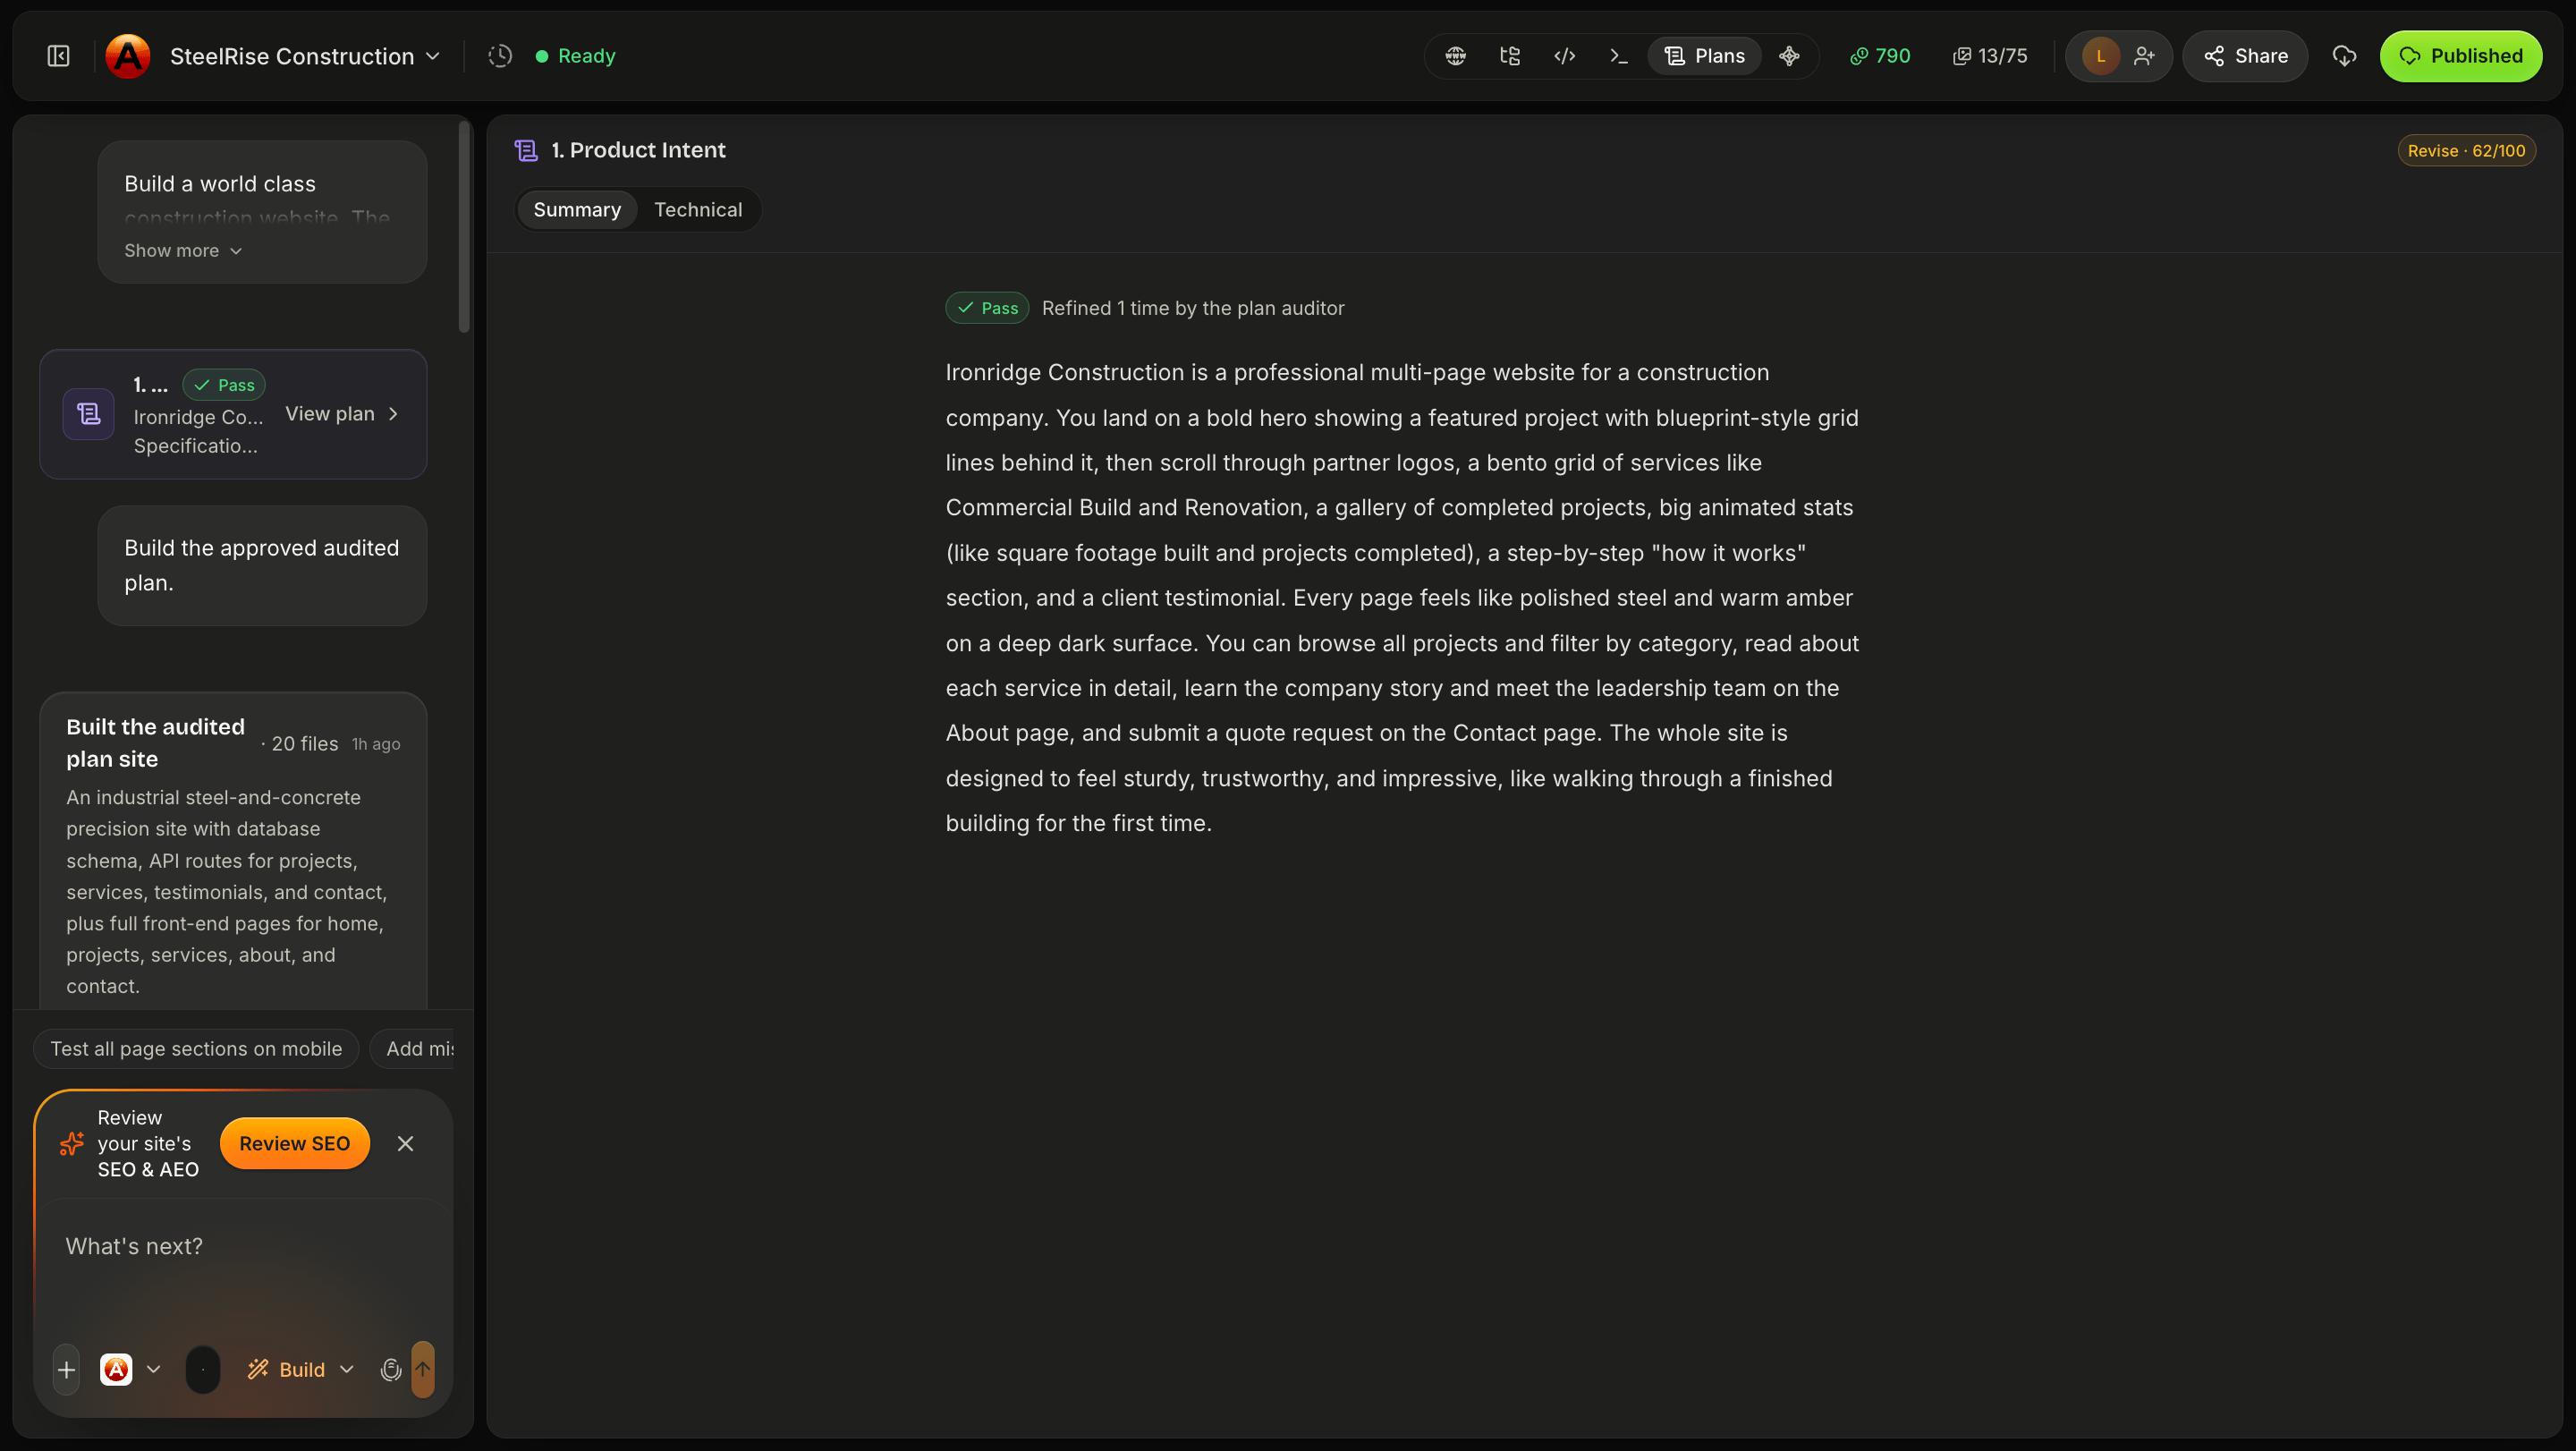
You can use Plan mode when you want to review the approach before AIWA makes changes. We’ll cover Plan mode in detail later in this documentation.
3. Build
Once the direction is clear, AIWA turns the plan into a working application. AIWA handles the implementation across the product, including the interface, application logic, pages, data requirements, and other functionality required by your project. You can watch the application take shape inside the AIWA workspace and preview the result as it develops.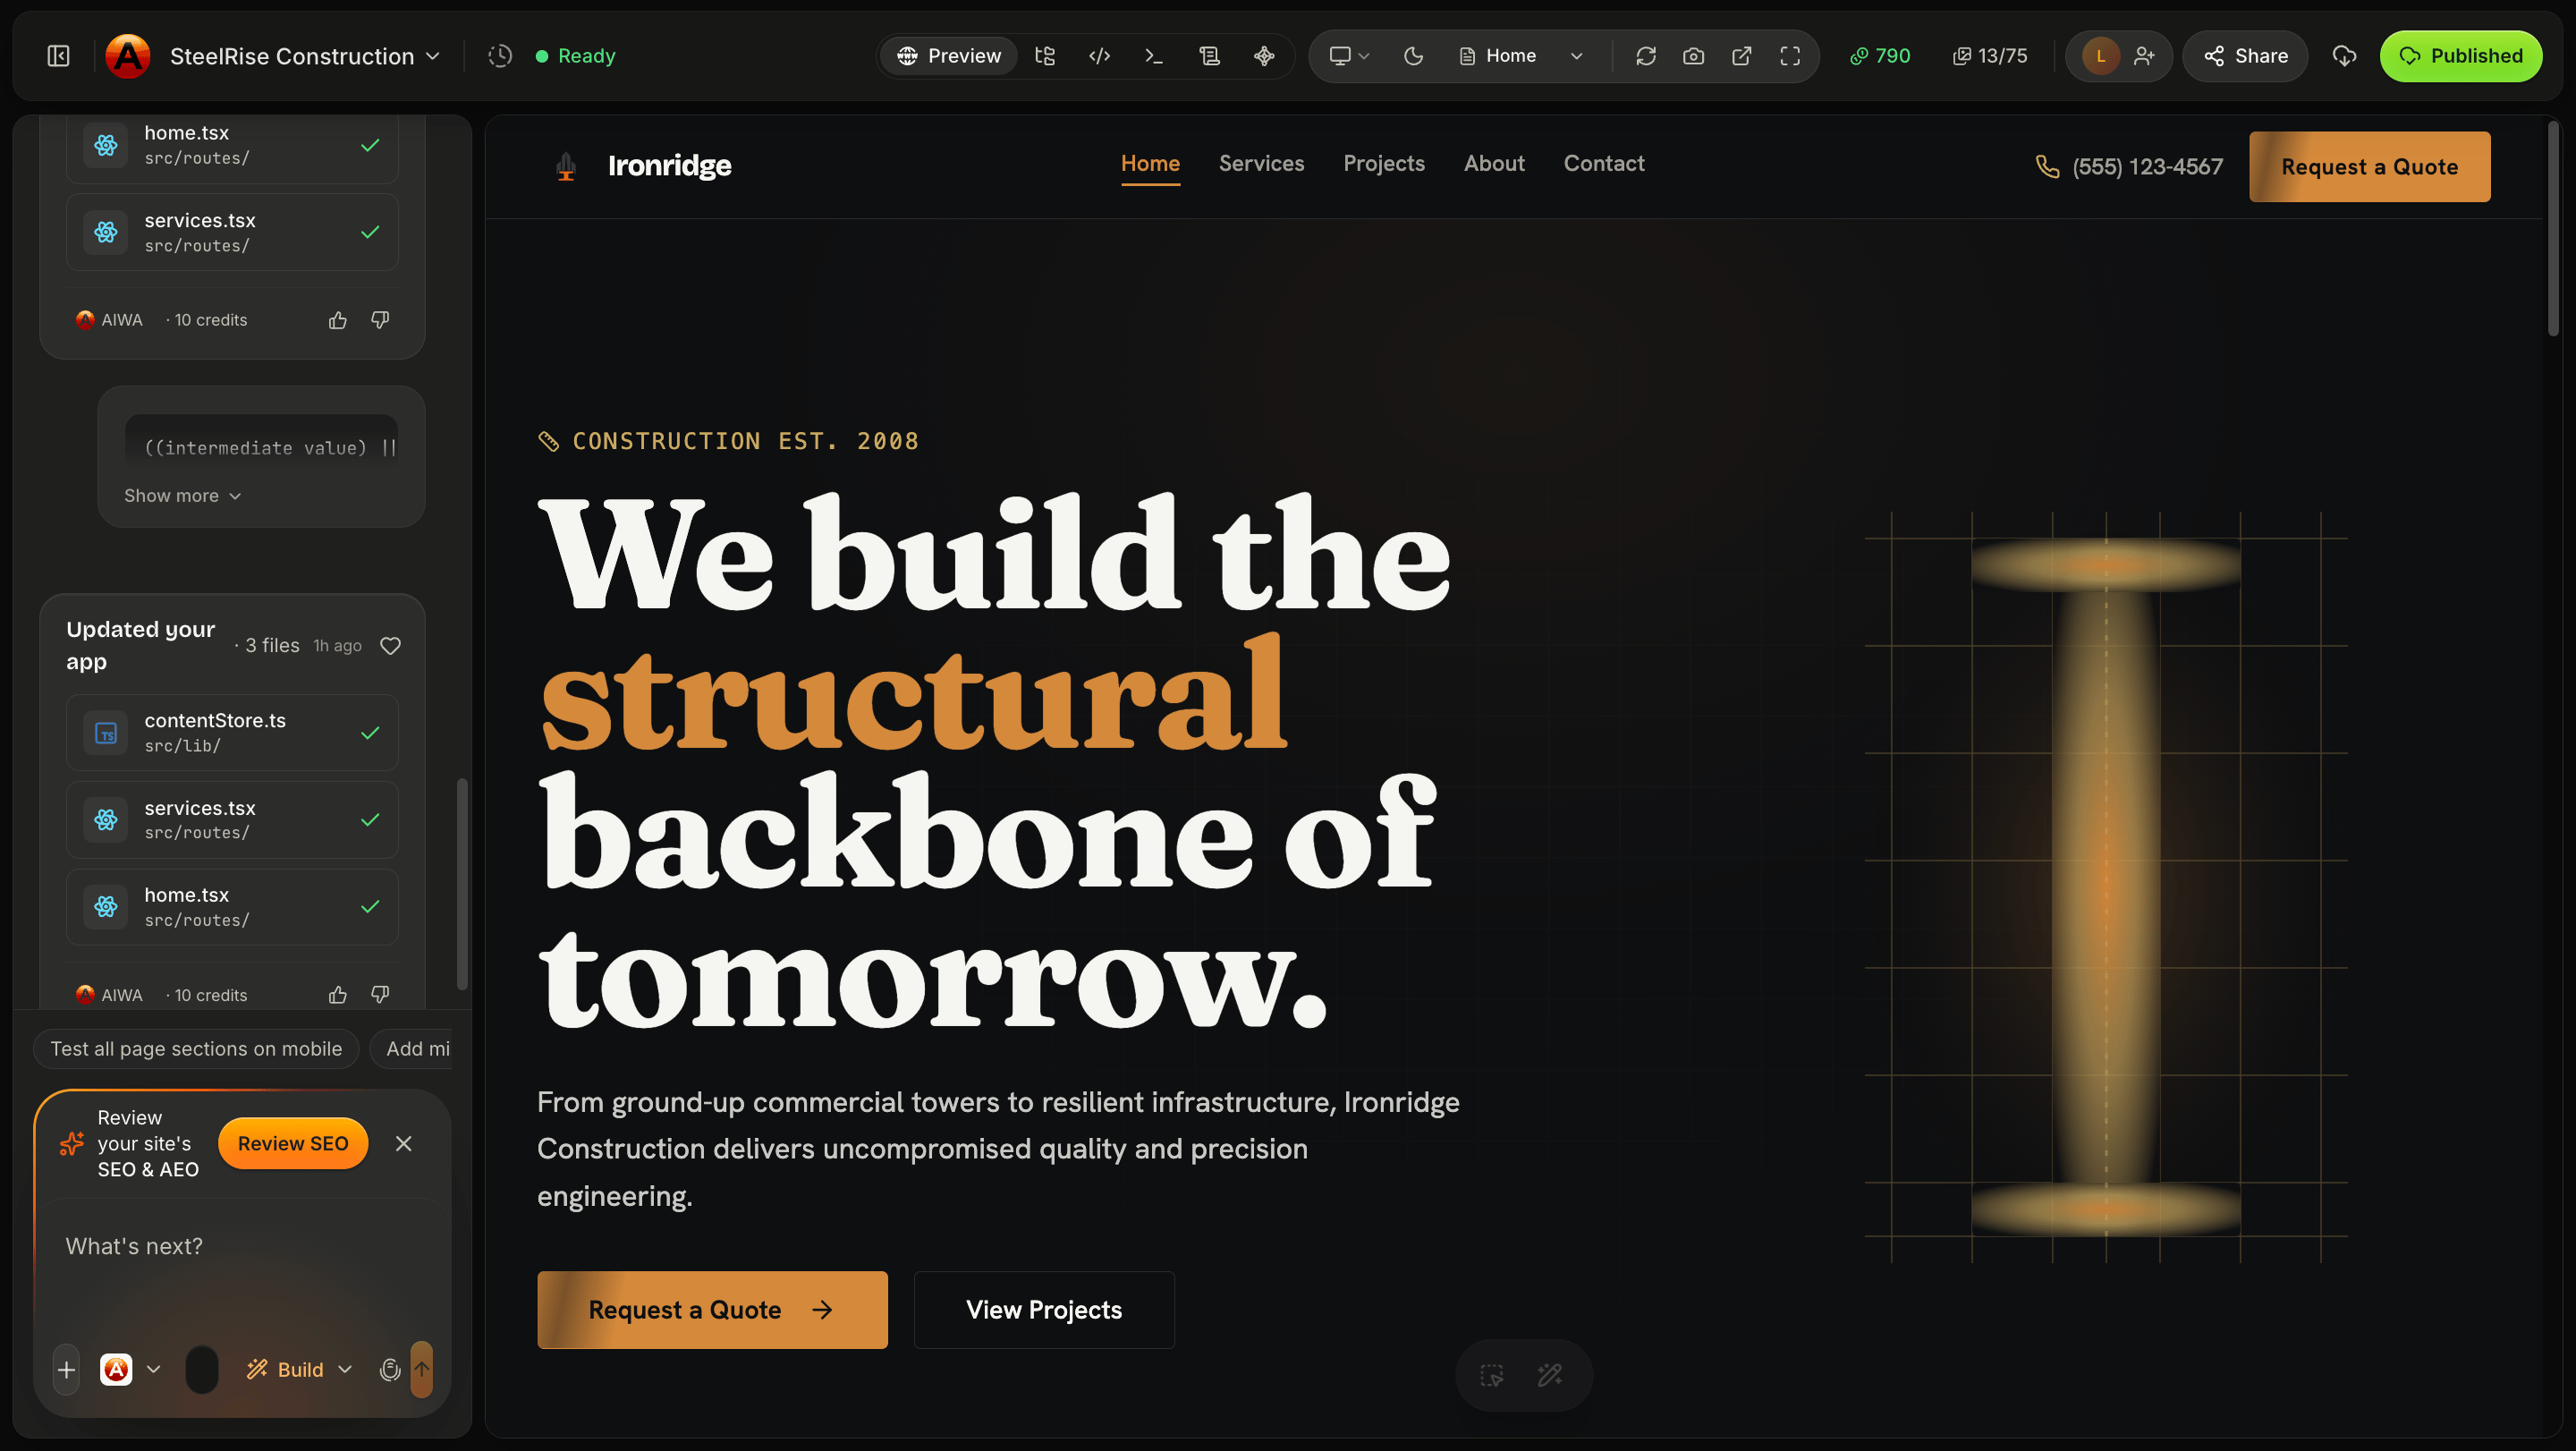
4. Review
When AIWA completes a build, you can review the result directly in the workspace. Check the application visually and interact with it just like a user would. You might discover that you want to:- Change part of the design
- Adjust some content
- Add another page
- Change how a feature works
- Add functionality
- Fix an issue
5. Iterate
This is where AIWA becomes more than a one-time app generator. Your project remains something you can continue working on. For example, you might start with:Build a booking website for a fitness studio.Then later ask:
Add customer accounts and allow users to manage their bookings.And later:
Add monthly memberships with online payments and an admin dashboard.AIWA continues working on the same product as your requirements evolve. Your first build is the beginning, not the finished product.
The AIWA development loop
1
Plan
AIWA understands your idea and determines what needs to be built.
2
Build
AIWA turns the plan into a working application.
3
Review
Preview and test what AIWA created.
4
Iterate
Tell AIWA what you want changed, improved, fixed, or added.
You stay in control
AIWA handles much of the technical implementation, but you remain in control of the product. You decide what to build, review what AIWA creates, provide feedback, and determine what happens next. For quick changes, you can ask AIWA to build immediately. For larger changes, you can plan them first and review the approach before implementation begins. This lets you move quickly when the task is simple while taking a more structured approach when the product becomes complex.From idea to live product
Building is only part of the AIWA workflow. Once your application is ready, AIWA can publish it to a live URL so other people can use it. And publishing doesn’t end development. You can return to the project, continue making changes with AIWA, and publish improved versions as your product evolves.We’ll walk through creating and publishing a project step-by-step in the next few guides.
Next: Create your first project
Now that you understand how AIWA works, let’s create your first project and see the workflow in action.Create your first project
Start building with AIWA in a few minutes.