
Build the workflow, not just the screen
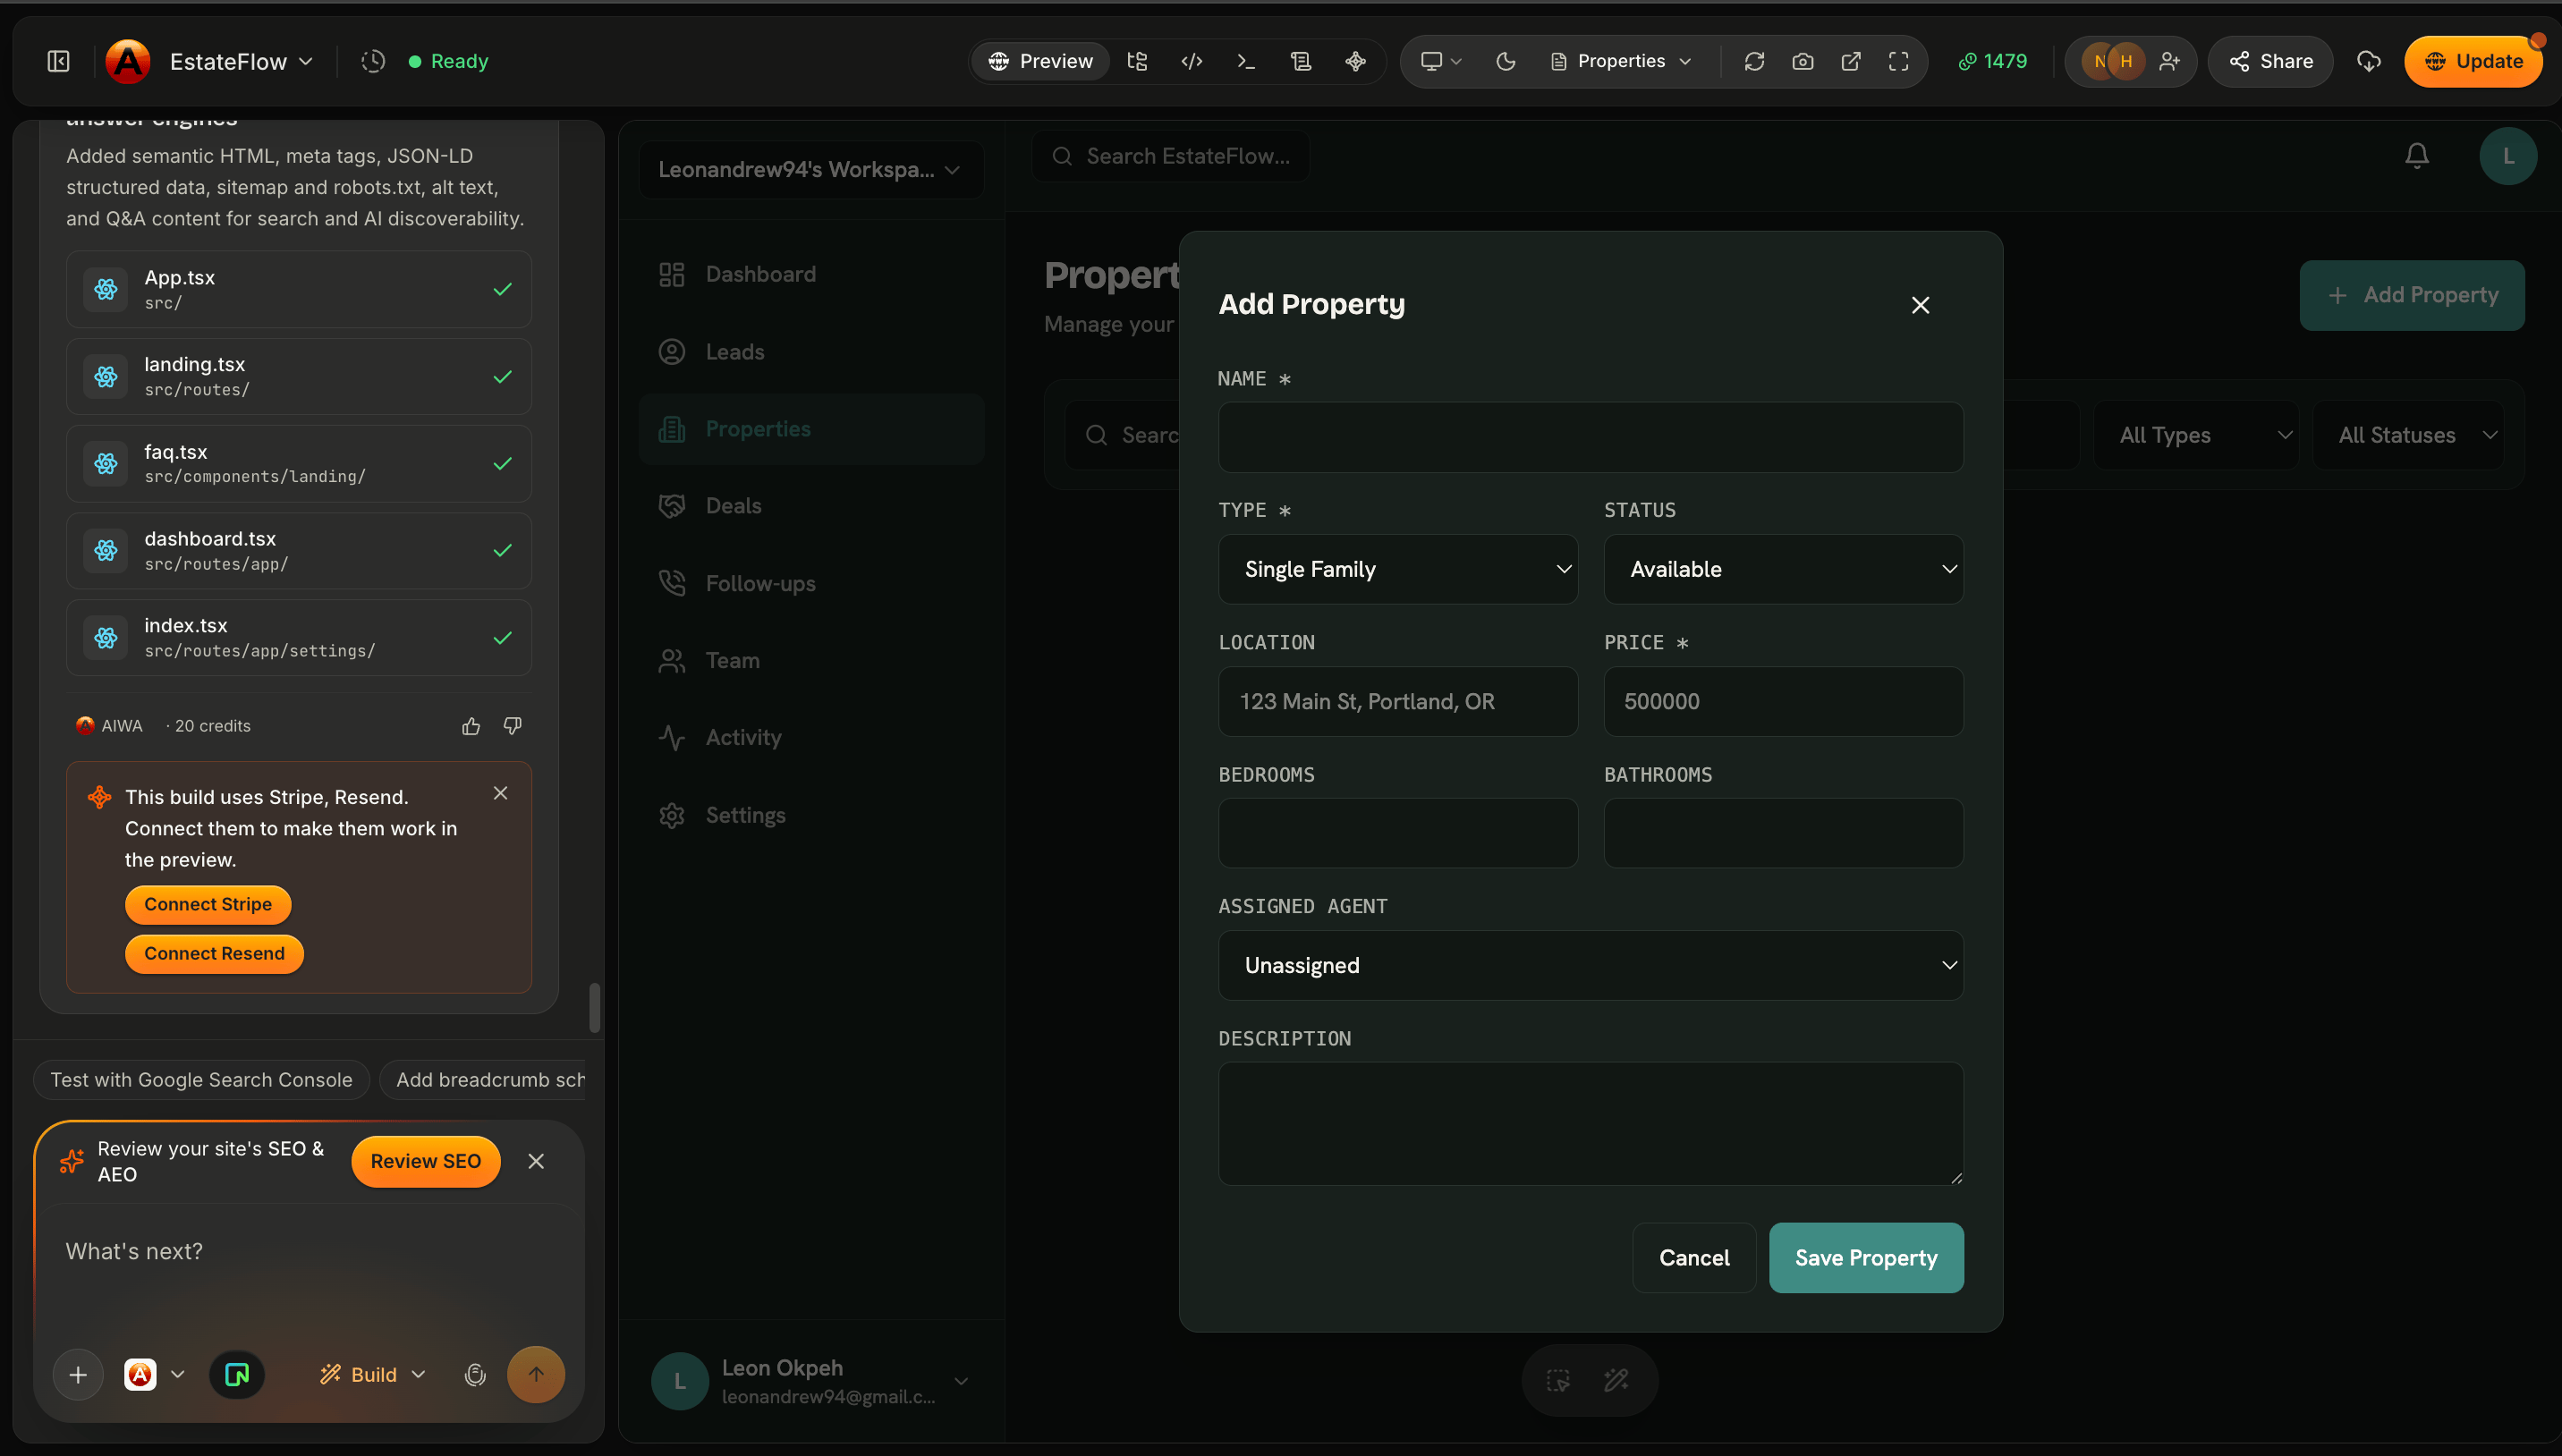
Add a contact form with name, email, phone number, and message.That tells AIWA what the form should look like. But what should happen after someone submits it? A stronger request is:
Add a contact form with name, email, phone number, and message. Save every enquiry to the database, show it in the admin dashboard, send a confirmation email to the customer, and notify our team when a new enquiry arrives.Now you’re describing a complete workflow:
Forms
Forms allow users to send information into your application. They can be used for:- Contact enquiries
- Lead capture
- Customer onboarding
- Booking requests
- Account settings
- Surveys
- Applications
- Checkout
- Support requests
- Creating and editing records
Creating a form
For example:Add a lead capture form with name, work email, phone number, company name, company size, and message. Name and email are required.AIWA can create the appropriate fields, validation, and interface. But for a real application, you should also describe what should happen to the submission. For example:
Save every submission as a lead in the database and show new leads in the sales dashboard.Now the form is connected to your application.
Form validation
Validation determines what information is acceptable before a form is processed. For example:Name and email are required. Validate that the email address is correctly formatted and show an inline error beneath invalid fields.Or:
Passwords must contain at least 8 characters.Or:
The booking date cannot be in the past.AIWA can implement validation around the requirements you describe. A useful prompt includes both: What information is required and what makes that information valid.
Success and error states
Don’t forget what happens after submission. For example:After successful submission, clear the form and show a success message saying “Thanks! We’ll get back to you shortly.”Also consider failure:
If submission fails, keep the user’s entered information and show an error message with an option to try again.Good application experiences account for both outcomes.
File Uploads
Some applications need users to upload files. Examples include:- Profile photos
- Property images
- Documents
- PDFs
- Product images
- Receipts
- Attachments
- Portfolio files
Allow real estate agents to upload multiple images when creating a property listing. Display the images in a gallery on the property detail page.Or:
Allow customers to attach PDF, DOCX, JPG, and PNG files to support tickets.
Describe upload restrictions
For uploads, tell AIWA about any important restrictions. For example:Allow up to 10 property images per listing. Accept JPG, PNG, and WebP files and limit each file to 10 MB.Or:
Only accept PDF documents up to 20 MB.This gives AIWA clearer requirements for validation and user feedback.
File storage
Files generally shouldn’t be stored directly inside your application’s relational database. Instead, applications commonly use dedicated media or file-storage services and store references to those files in the database. AIWA supports connectors such as Cloudinary for workflows involving media storage and delivery. For example:Some external functionality requires you to connect the appropriate service or credentials before AIWA can use it in your application.
- Welcome emails
- Booking confirmations
- Contact-form notifications
- Order confirmations
- Team invitations
- Password-related messages
- Status updates
- Transactional notifications
Describe when an email should be sent
Instead of simply saying:Add email.Describe the event. For example:
When a customer successfully books an appointment, send them a confirmation email containing the service, staff member, date, time, and booking reference.That’s much clearer. Conceptually:
Send emails to your team
Email isn’t only for customers. For example:When someone submits the demo request form, save the lead and email our sales team with the person’s name, email, company, and message.Or:
Notify the assigned agent whenever a new lead is assigned to them.AIWA can connect application events to email workflows.
Connect Resend
For applications that send transactional emails, you can connect Resend through AIWA’s supported integration flow. Once configured, you can focus your prompts on what should happen. For example:Send a welcome email after registration.Rather than manually implementing the entire email delivery workflow yourself. We’ll walk through connecting Resend later in the Integrations section.
Payments
You can also build payment experiences into your application. AIWA supports Stripe for payment workflows. This allows you to build experiences such as:- One-time purchases
- Subscription checkout
- SaaS plans
- Customer billing
- Upgrades
- Payment status
- Billing portal access
One-time payments
For example:Customers should be able to purchase this digital course for $99 using Stripe. After successful payment, give the customer access to the course dashboard.This involves more than displaying a payment button. Conceptually:
Subscription payments
For SaaS applications, you might need recurring subscriptions. For example:Add three subscription plans: Starter at 49/month, and Business at $99/month. Users should choose a plan during checkout and their account should reflect their active subscription afterward.For more sophisticated billing systems, you may also need:
- Upgrades
- Downgrades
- Cancellations
- Failed payment handling
- Subscription status
- Billing history
- Customer portal access
- Feature restrictions
Payments are more than checkout
A common mistake is thinking that adding Stripe means simply creating a checkout page. A real subscription workflow may look more like:Combine capabilities into workflows
The real power comes from combining these capabilities. Imagine you’re building a photography booking platform. You could tell AIWA:Customers should complete a booking form, choose a photography package, upload reference images, pay a 30% deposit through Stripe, and receive a confirmation email after successful payment. Save the booking in the admin dashboard with a “Deposit Paid” status.That single product workflow involves: Form Collect booking details. ↓ Upload Store reference images. ↓ Stripe Collect the deposit. ↓ Database Save the booking and payment state. ↓ Resend Send confirmation. ↓ Dashboard Show the booking to the photographer. You’re describing the customer experience. AIWA can help build the systems behind it.
Another example: Lead qualification
Suppose you’re building an agency website. You could ask:Create a “Request a Proposal” form. Ask for name, company, email, website, monthly marketing budget, services needed, and project description. Save submissions as leads. If the budget is above $5,000, mark the lead as High Priority and notify the sales team by email.Conceptually:
Describe the complete outcome
When prompting AIWA, think beyond the visible component. Instead of:Add an application form.Try:
Add an application form collecting name, email, LinkedIn profile, years of experience, role, and CV. CV should accept PDF files only. Save applications in the database and show them in the admin dashboard. Send the applicant a confirmation email after successful submission.Instead of:
Add a Buy button.Try:
Add a Buy button that starts Stripe checkout. After successful payment, record the purchase and unlock the customer’s download inside their account.The more clearly you describe the outcome, the better AIWA can understand the complete workflow.
External services require connectors
AIWA can build the application logic around external services, but those services still belong to their respective providers. For example:
You’ll generally need to connect the appropriate account or credentials before the application can use that external service.
AIWA’s Connectors make this process easier.
We’ll cover each supported connector individually later.
Keep credentials secure
External integrations frequently require API keys or other credentials. These values should be treated as secrets. Use AIWA’s supported connector or secure configuration flows when adding credentials. Once connected, your prompts can focus on the product behavior rather than repeatedly supplying credentials.Choose the right mode
Simple workflows can often go directly to Build Mode. For example:Add a contact form and save submissions to the database.Build + Min may be sufficient. More complex workflows deserve planning. For example:
Add subscriptions with three plans, feature limits, upgrades, downgrades, cancellations, failed-payment handling, and a customer billing portal.Consider: Plan + Max → Review → Build This allows AIWA to reason through the complete billing architecture before implementation.
Example prompts
Contact formCreate a contact form with name, email, company, and message. Save submissions and show a success message afterward.Upload
Allow users to upload a profile image. Accept JPG, PNG, and WebP and show the uploaded image on their profile.Email
Send customers an email confirmation after successfully booking an appointment.Payment
Add Stripe checkout for the Pro plan at $49/month and update the user’s subscription after successful payment.Complete workflow
Build a consultation booking flow. Customers should choose a service, select an available date and time, enter their contact details, pay the consultation fee through Stripe, and receive an email confirmation. Save the booking and payment status in the database.
Think in outcomes
You don’t need to tell AIWA every technical step required to implement a workflow. Start with:What should the user be able to do?Then:
What should happen when they do it?And finally:
What information should the application remember?For example:
- A customer books an appointment.
- The booking should be saved.
- Payment should be collected.
- The customer should receive confirmation.
- The business should see the booking in its dashboard.
Next: APIs and Server-Side Logic
Forms collect information. Databases store it. Integrations connect your application to external services. But something still needs to determine what happens when users perform actions. Next, we’ll look at APIs and Server-Side Logic: the functionality behind your application’s buttons, workflows, permissions, calculations, and integrations.APIs and server-side logic
See how AIWA builds the logic behind buttons, workflows, and integrations.